From Concept to Creation: How We Bring Custom 3D Designs to Life
Imagine a world where your wildest dreams could be transformed into tangible reality. A place where abstract concepts take shape, and imagination knows no bounds. This is the realm of 3D design, a powerful tool that has revolutionized industries and captivated audiences alike.
In this blog post, we’ll dive into the engaging world of 3D design, exploring the creative process from initial concept to final product. We’ll uncover the secrets behind bringing custom 3D designs to life, showcasing the artistry and technical prowess that goes into each creation.
At HumantekArt, we believe that the magic of 3D design should be shared with the world. That’s why we offer exceptional Twitch streaming services, allowing you to showcase your creative process and connect with a passionate community of artists and enthusiasts.
What is 3D Design?
3D design is the process of creating three-dimensional representations of objects or environments using computer software. It involves combining artistic and technical skills to develop virtual models that can be manipulated, viewed, and printed. 3D design has become an integral part of numerous industries, including:
Product design: 3D models are used to visualize and prototype products before they are manufactured, saving time and resources.
Architecture: Architects use 3D software to create detailed visualizations of buildings and urban planning projects.
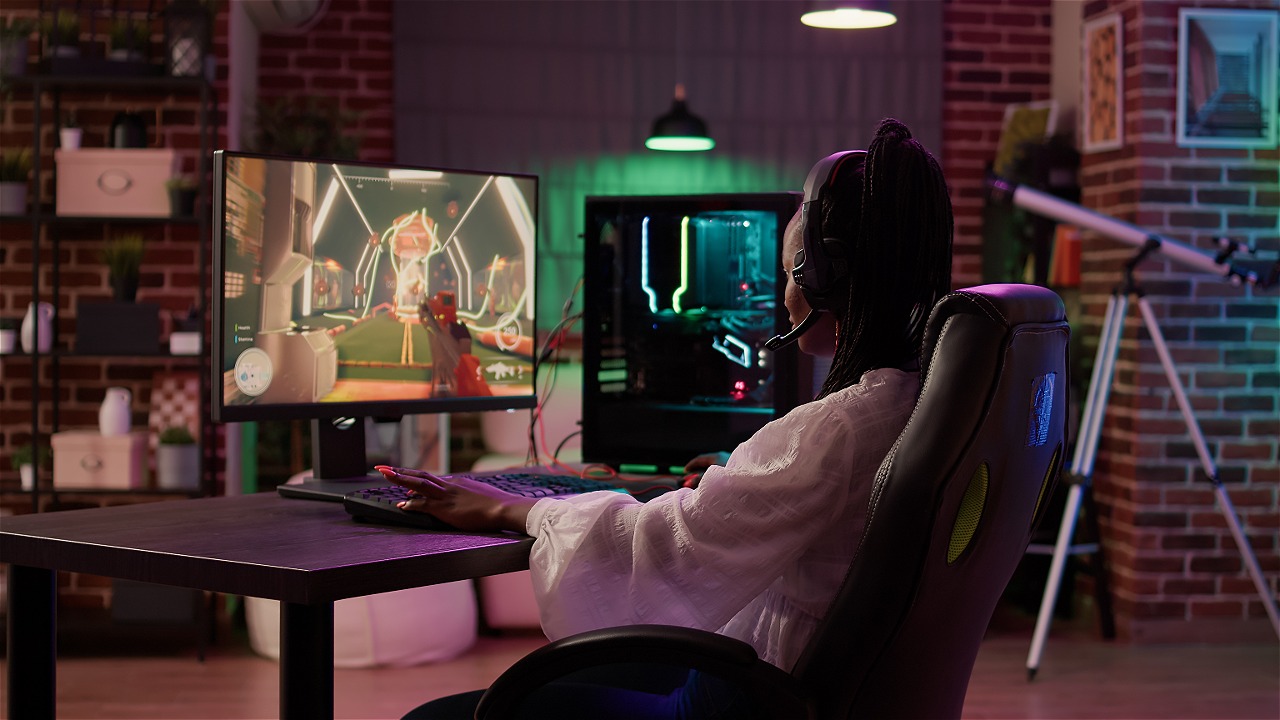
Gaming and entertainment: 3D models are essential for creating immersive virtual worlds and characters in video games, movies, and animations.
Medical and scientific research: 3D printing and visualization techniques are used for medical prosthetics, anatomical models, and scientific simulations.
Marketing and advertising: 3D visuals can be used to create compelling product demonstrations and marketing campaigns.
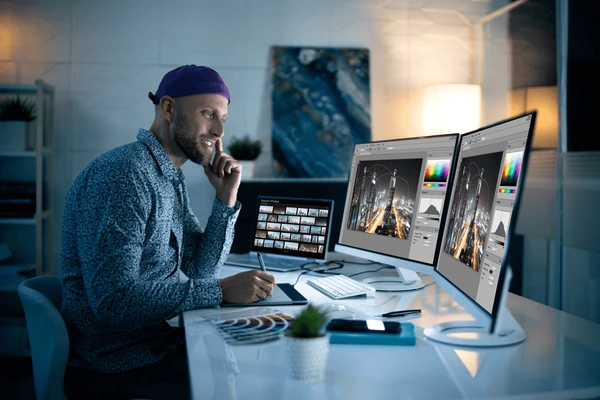
3D Modeling: Bringing Your Vision to Life
Choosing the Right Software:
The first step in 3D modeling is to select the appropriate software. Popular options include:
Blender: A free and open-source software that offers a wide range of features and is suitable for both beginners and professionals.
Maya: A powerful commercial software often used in the film and animation industry, known for its advanced modeling and animation tools.
ZBrush: A digital sculpting software primarily used for creating organic shapes and detailed textures.
The best software for you will depend on your specific needs and level of experience.
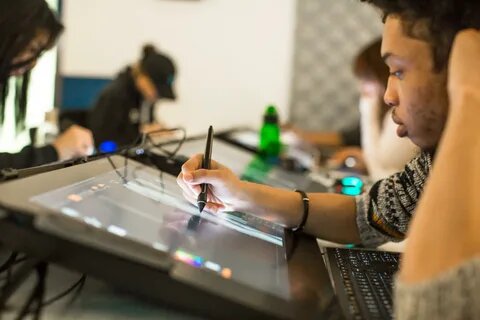
Creating 3D Objects:
Once you’ve chosen your software, you can begin creating 3D objects. This involves using various modeling techniques, such as:
Extrude: Creating shapes by extending or stretching existing geometry.
Revolve: Generating objects by rotating a 2D profile around an axis.
Boolean operations: Combining or subtracting shapes to create more complex forms.
Modeling by subdivision: Starting with a simple shape and adding more detail through subdivision.
Refining Details:
To make your 3D models look realistic and visually appealing, you’ll need to add details such as:
Textures: Applying images or patterns to surfaces to give them a specific appearance.
Materials: Defining the properties of materials, such as color, reflectivity, and roughness.
Lighting: Setting up light sources to illuminate your models and create shadows.
Prototyping and Testing: Bringing Your Design to Life
3D Printing:
Once you’ve created a digital model, you can use 3D printing technology to create a physical prototype. This allows you to:
Evaluate the design: Assess the size, shape, and functionality of the object in real-world conditions.
Identify potential issues: Discover any flaws or design limitations that might not be apparent in the digital model.
Obtain feedback: Gather feedback from stakeholders or potential users to refine the design.
Virtual Reality:
Virtual reality (VR) technology can provide an immersive experience for evaluating your design. By placing the 3D model in a virtual environment, you can:
Simulate real-world scenarios: Test how the object interacts with its surroundings and users.
Gain user insights: Observe user behavior and gather feedback on the design’s usability and aesthetics.
Identify ergonomic issues: Assess the comfort and functionality of the object for users.
User Testing:
Conducting user testing is essential for ensuring that your design meets the needs and expectations of its intended audience. This involves:
Recruiting participants: Selecting a representative sample of potential users.
Creating a testing environment: Setting up a controlled environment where participants can interact with the design.
Gathering feedback: Observing user behavior, asking questions, and collecting feedback on the design’s effectiveness.
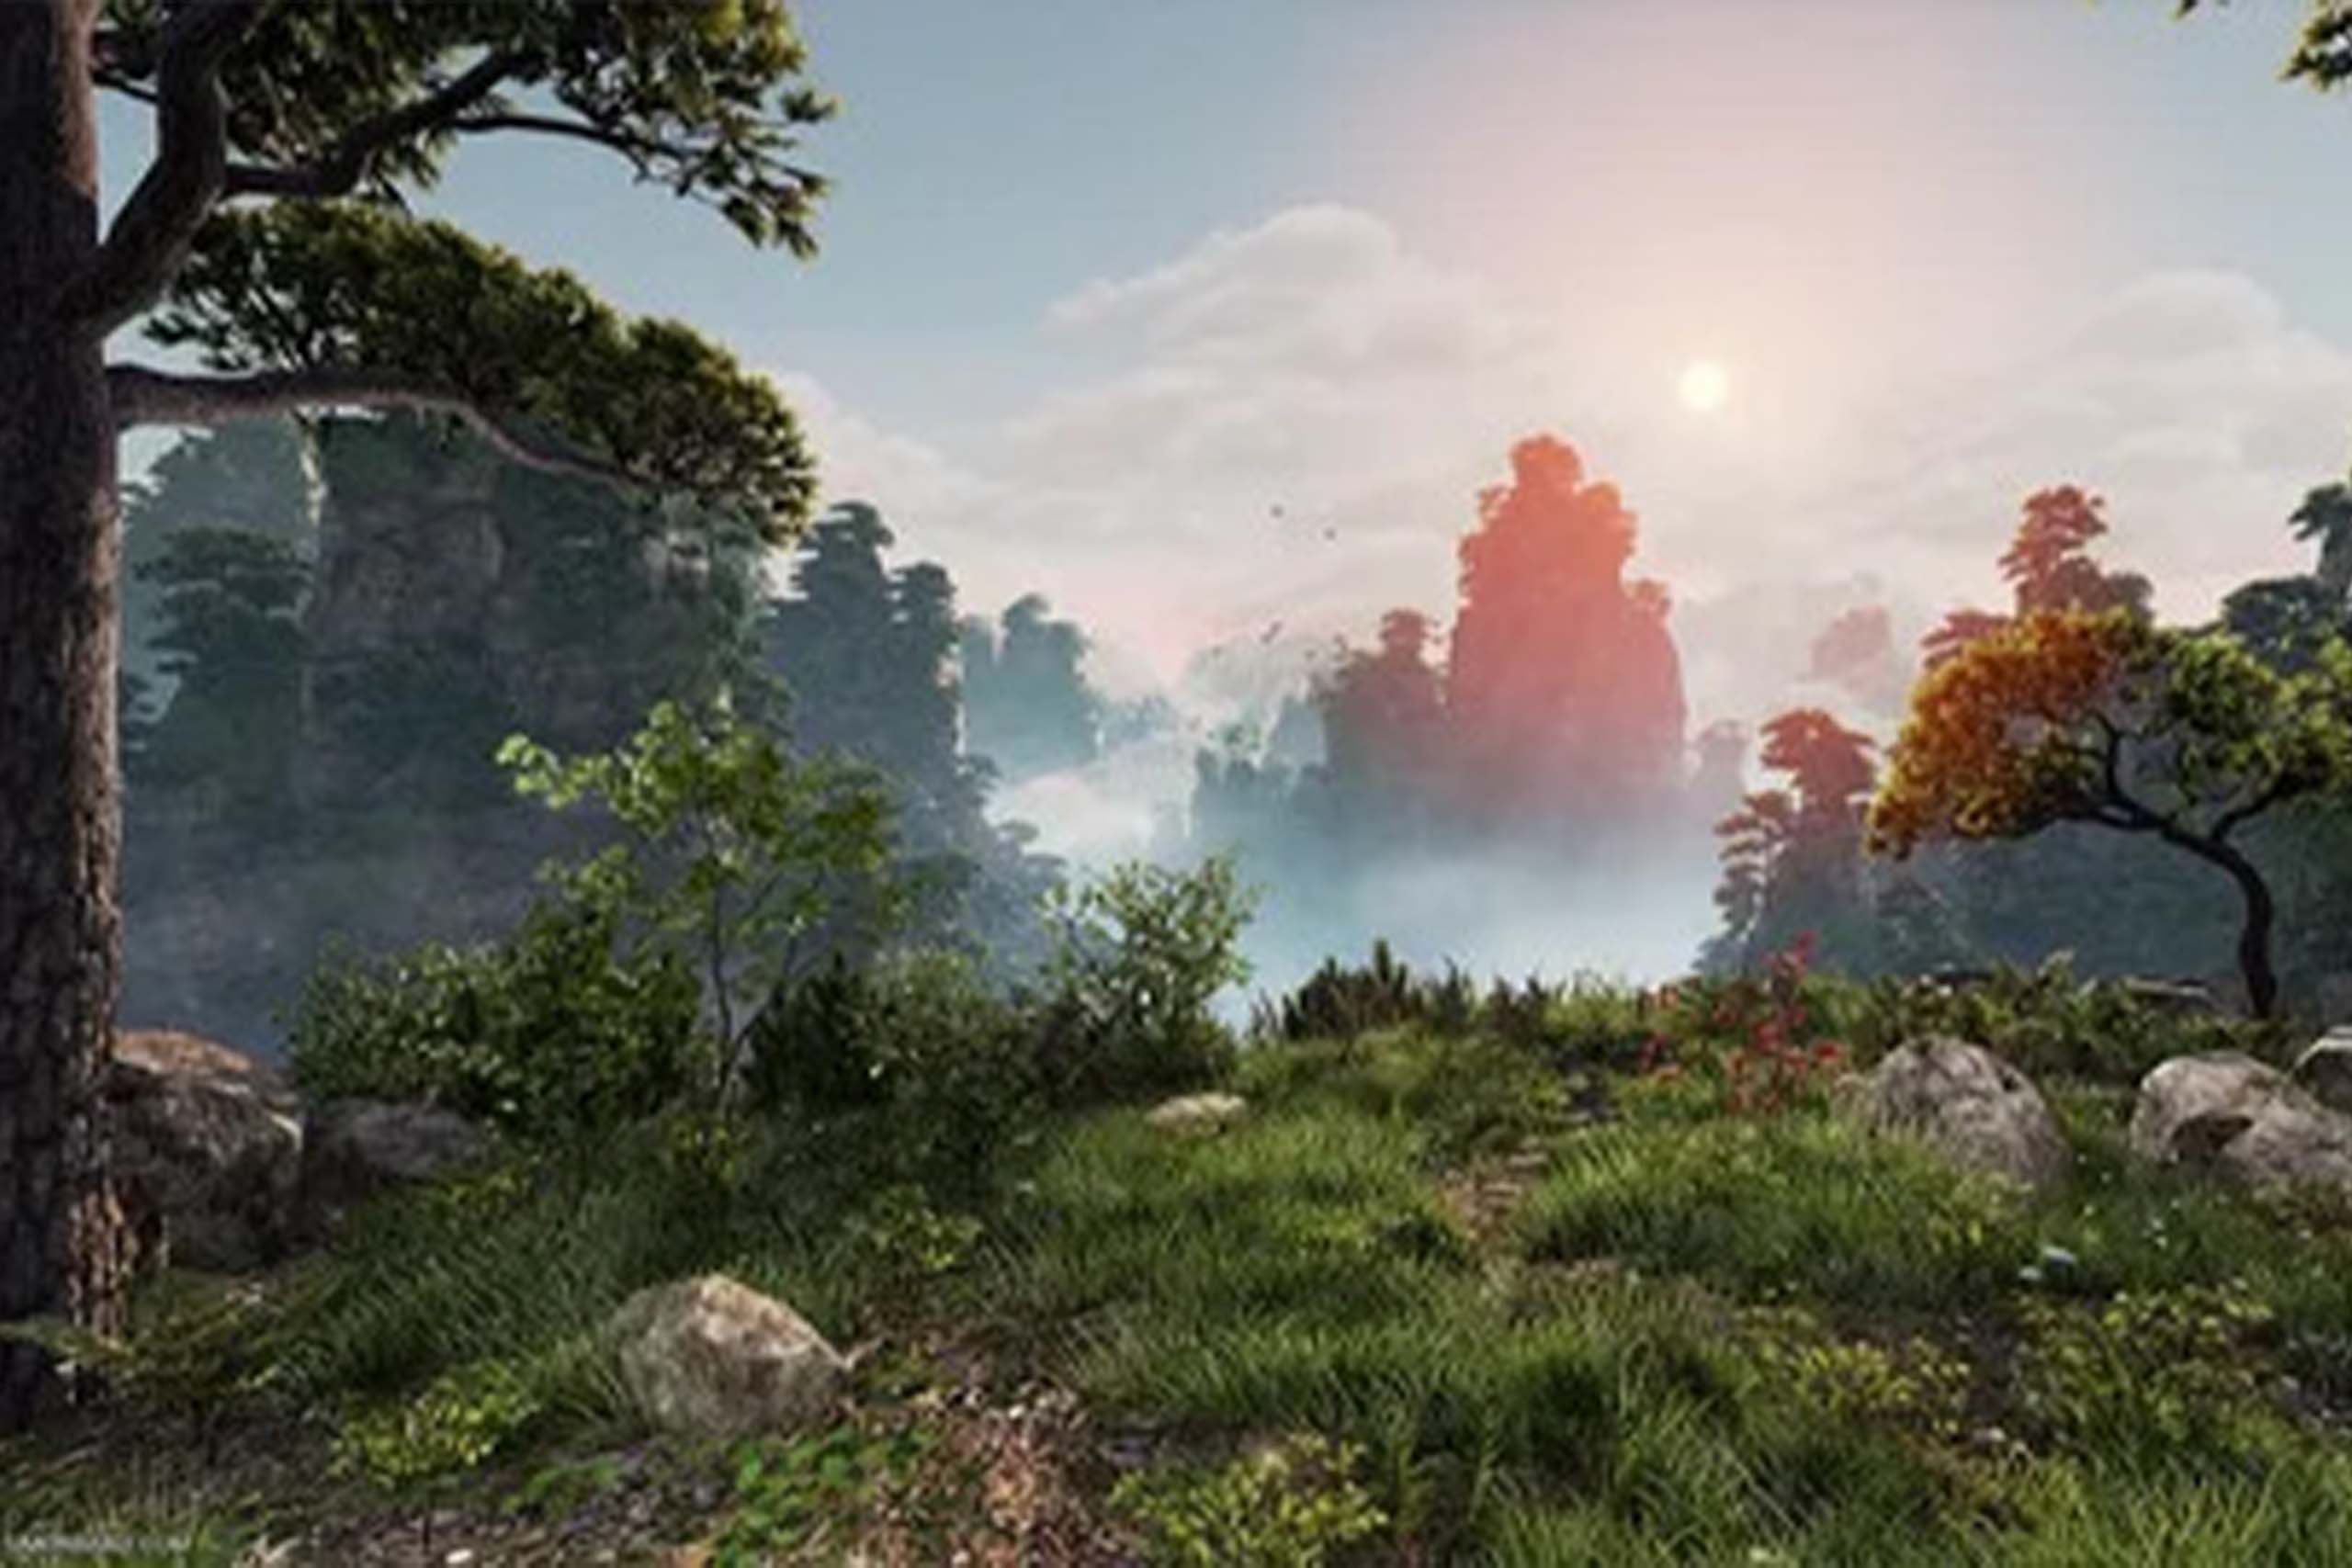
Rendering and Visualization: Bringing Your Design to Life
Rendering:
Rendering is the process of creating photorealistic images or animations from your 3D models. This involves using specialized software to simulate lighting, shadows, reflections, and other visual effects.
Popular rendering software:
V-Ray: A powerful and versatile rendering engine known for its realistic results.
Arnold: A physically based renderer used in many high-end productions.
OctaneRender: A GPU-accelerated renderer that offers fast render times and high-quality results.
Visualization Tools:
Once your 3D models are rendered, you can use visualization tools to present your designs in a compelling way. This may involve creating:
Product animations: Dynamic visuals that showcase the features and functionality of your product.
Interactive walkthroughs: Virtual tours that allow viewers to explore your designs in detail.
360-degree panoramas: Immersive views that provide a complete sense of the design’s scale and atmosphere.
Feedback and Iterations:
The rendering and visualization process is often an iterative one, involving feedback from clients and making adjustments to the design. By visualizing your designs in a realistic context, you can:
Identify potential issues: Discover any flaws or areas that need improvement.
Gather feedback: Get input from clients and stakeholders on the design’s effectiveness.
Make necessary revisions: Refine your design based on the feedback received.
Finalization and Delivery: The Finishing Touches
Addressing Any Issues:
Before finalizing the design, it’s important to review it carefully for any errors or inconsistencies. This may involve:
Checking for errors: Ensuring that the model is free of technical issues, such as missing textures or incorrect geometry.
Reviewing dimensions and tolerances: Verifying that the design meets the specified requirements.
Testing functionality: If applicable, testing the design’s functionality to ensure it works as intended.
Delivery Formats:
Once the design is finalized, it’s time to prepare it for delivery. Common file formats for 3D models include:
STL: A widely used format for 3D printing and rapid prototyping.
OBJ: A versatile format that can be used for various 3D applications.
FBX: A popular format for exchanging 3D data between different software programs.
The choice of file format will depend on the specific requirements of the project and the intended use of the design.
Intellectual Property:
Protecting your 3D design is crucial to ensuring that your intellectual property rights are safeguarded. This may involve:
Copyright registration: Registering your design with the appropriate copyright office.
Non-disclosure agreements: Using NDAs to protect confidential information.
Watermarking: Adding a watermark or copyright notice to the design.
By taking these steps, you can help prevent unauthorized use or reproduction of your design.
Recap of Key Points:
In this blog post, we’ve explored the exciting world of 3D design, from the initial concept stage to the final delivery of a stunning creation. We’ve covered the key steps involved in the process, including:
Initial concept and client consultation: Understanding the client’s vision and brainstorming ideas.
Sketching and conceptualization: Visualizing the design through sketches and mood boards.
3D modeling: Creating digital models using specialized software.
Rendering and visualization: Creating photorealistic images and animations.
Prototyping and testing: Evaluating the design through physical models and virtual reality.
Finalization and delivery: Addressing any issues and delivering the final product.
Are you ready to bring your creative vision to life? At HumantekArt, we specialize in creating custom 3D designs that exceed expectations. Our team of skilled professionals can help you with everything from concept development to final production.
Contact us today to discuss your project and let’s create something truly remarkable together.